
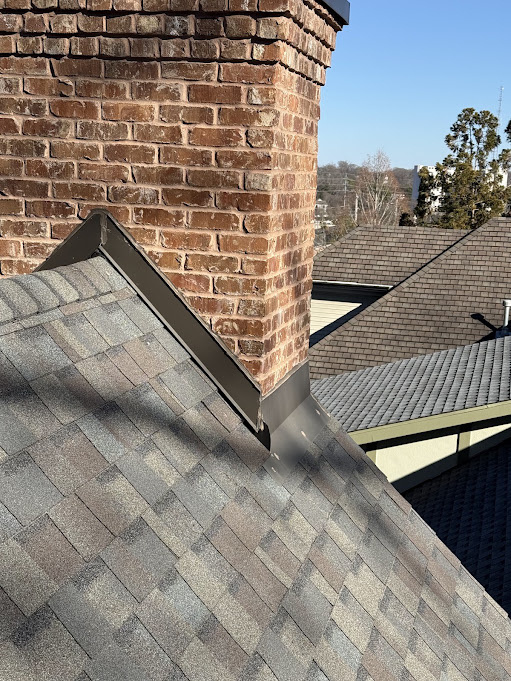
Stop the leak at the source
Roofing done right the first time.
Where the roof meets a brick or stucco wall is where the water gets in. We find the path before anyone quotes a repair.
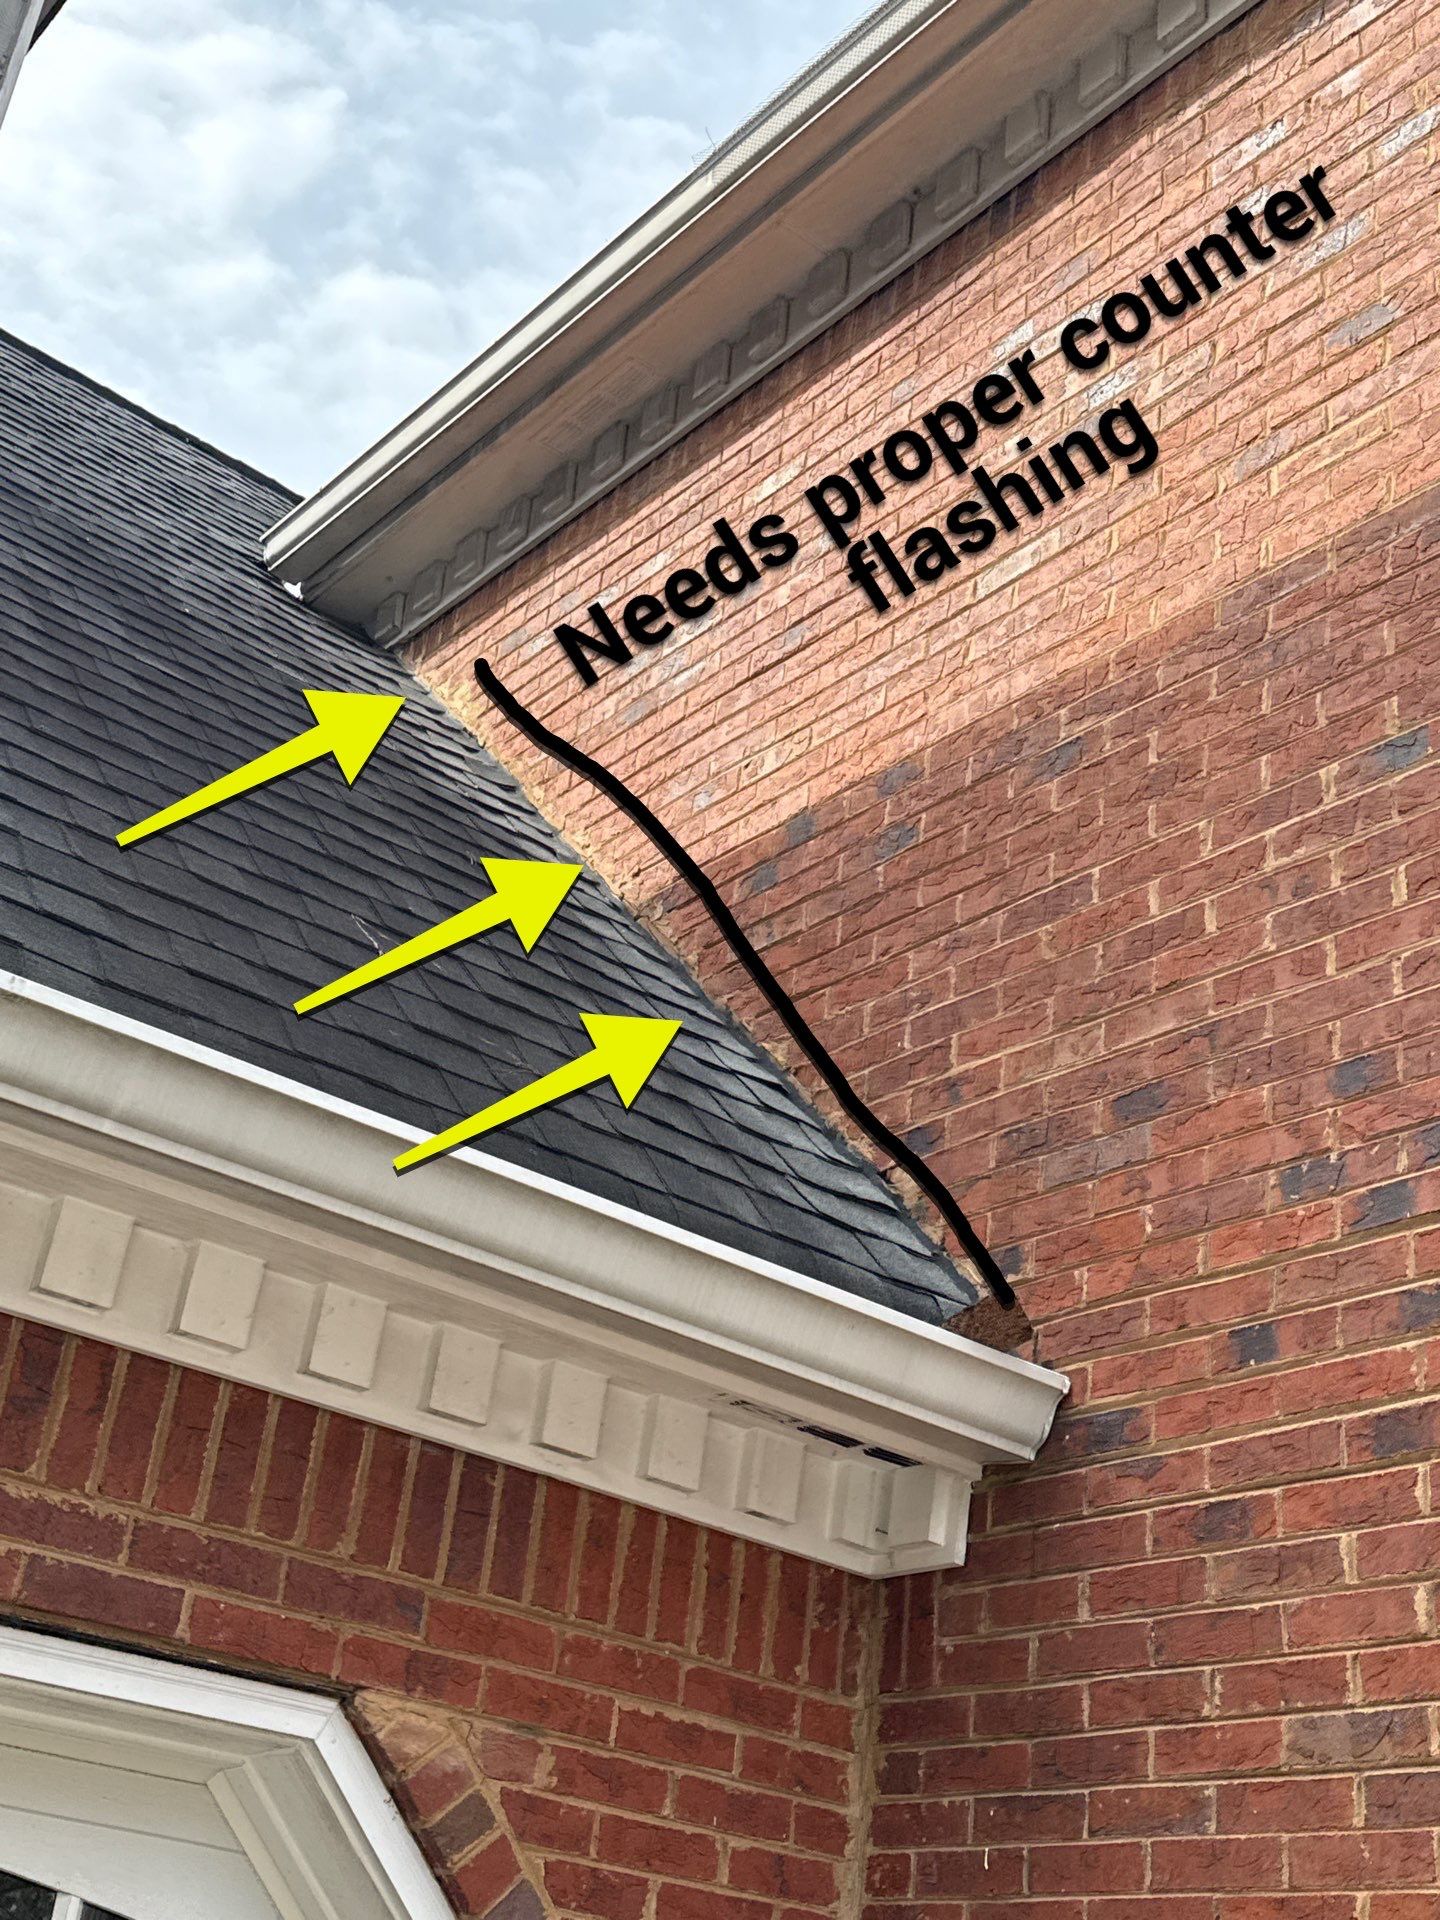
Signs your brick or stucco flashing is failing
Water stains near the chimney or stucco wall, rust streaks on brick, or a musty attic smell can all point to failing counter flashing. Catching these signs early can keep a small flashing repair from turning into rotted decking or damaged drywall.
A few key signs to watch for:
- Water stains on ceilings or walls near a chimney, dormer, or stucco wall
- Visible gaps where flashing meets brick or stucco
- Rust-colored streaks running down brick or staining stucco
- Soft or discolored stucco around the flashing
- A musty smell in the attic after heavy rain
Not every stain means your flashing has failed. Older stains may simply need paint, while fresh staining after a storm can indicate active water intrusion. Cracked sealant along the flashing edge is another early warning sign.
A professional inspection can determine whether you're dealing with a simple sealant issue, damaged flashing, or water damage behind the wall.
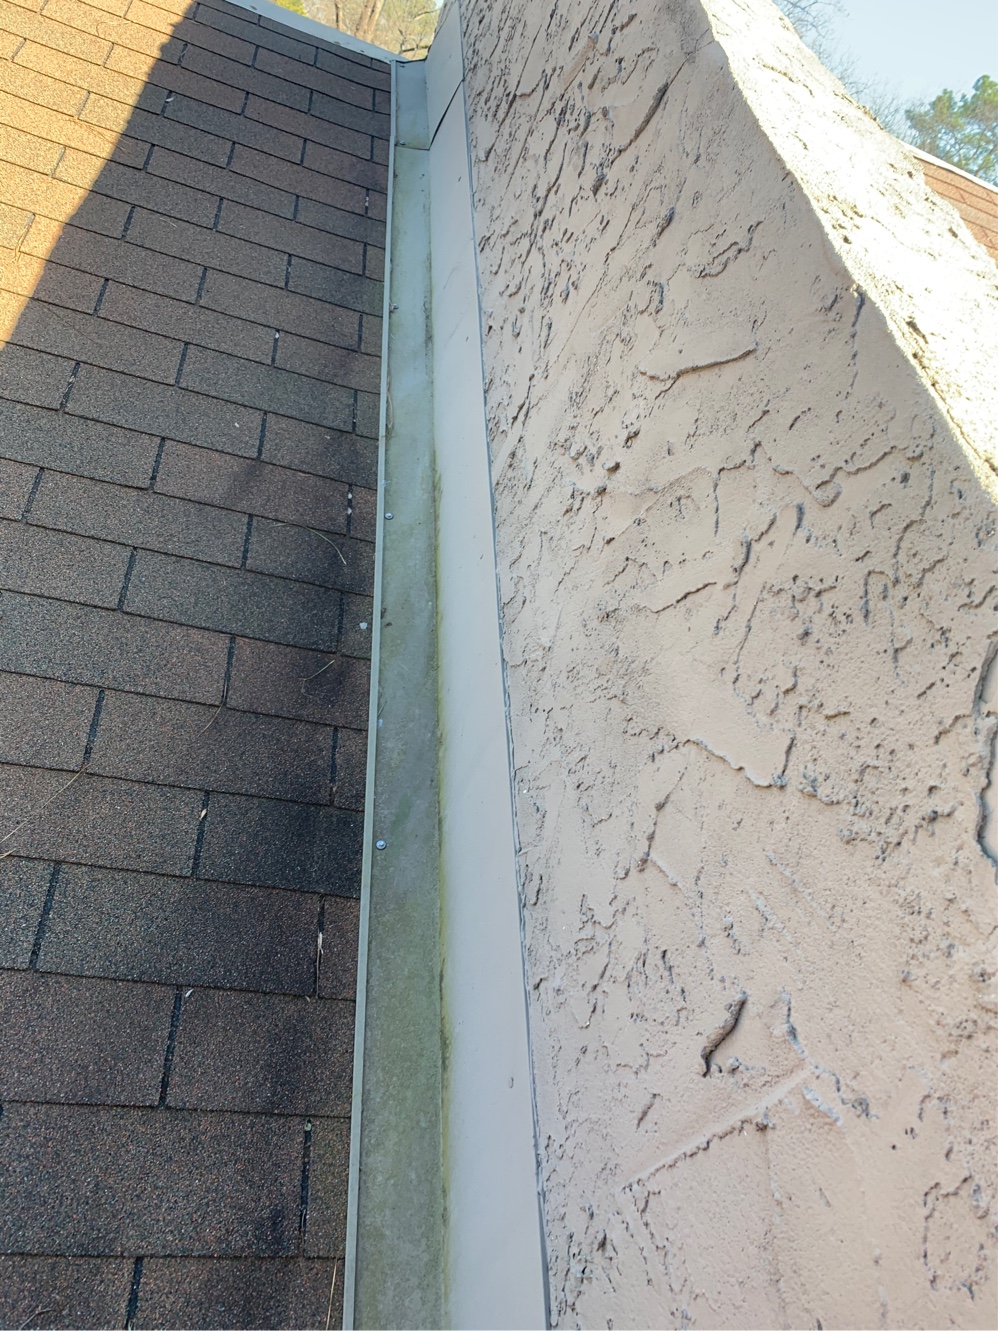
Brick mortar reglets vs. stucco kerf cuts: two different repairs
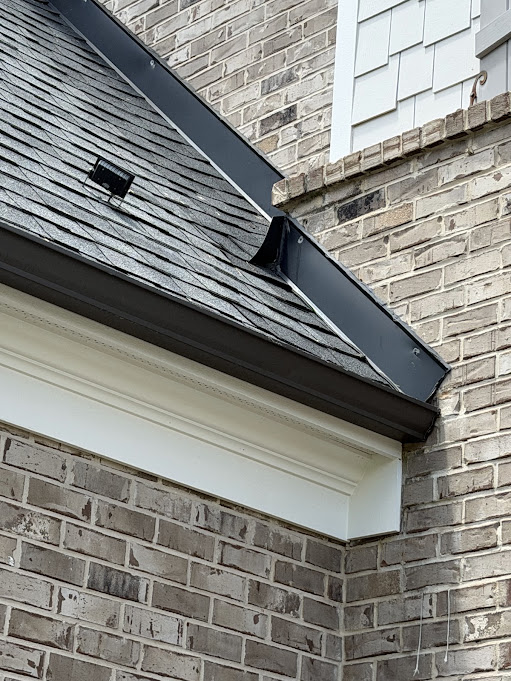
Brick and stucco homes both need proper counter flashing where the roof meets a wall, but the installation method is different.
On brick, a reglet is cut into an existing mortar joint. The flashing is inserted into the groove and secured with new mortar.
Stucco requires a different approach. A kerf is cut directly into the stucco surface so the flashing can be properly embedded and sealed.
- Brick: reglet cut into the mortar joint
- Stucco: kerf cut directly into the stucco
- Older brick: may have brittle or deteriorated mortar
- Stucco: requires precise cutting and sealing to prevent water intrusion
The goal is the same in both cases: keep water from getting behind the wall and into the roof system.
Preserve your brickwork
Brick mortar provides essential structural support and acts as a barrier against the elements. Over time, cracked, crumbling, or missing mortar allows water to seep deep inside your brickwork, causing freeze-thaw cracking, interior leaks, and costly masonry decay.
- Detailed written estimateClear, upfront pricing detailing repointing, tuckpointing, or mortar repair solutions.
- Photo proof & documentationHigh-resolution photos capturing soft, cracking, or eroding mortar joints along your chimney and walls.
- In-person expert consultationOur specialist walks you through the condition of your masonry and recommends the best long-term repair approach.
Protect your brickwork. Prevent costly masonry damage.
Book My Free Inspection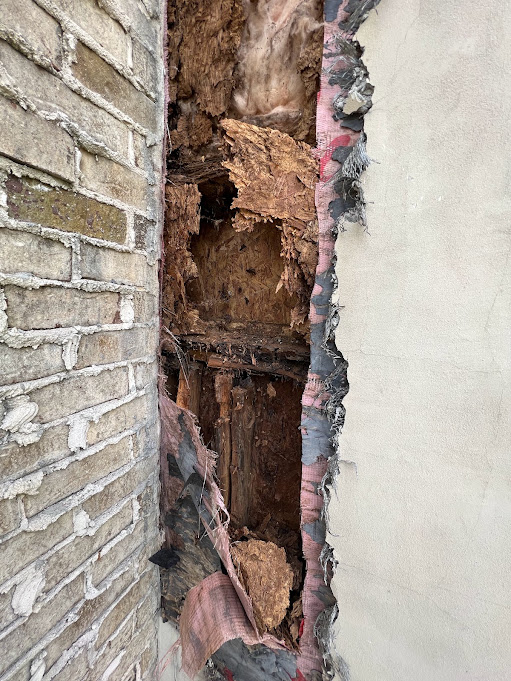
When a simple sealant or cap fixes the problem
Not every flashing issue requires complete replacement. If the metal is still in good condition and the problem is limited to cracked or deteriorated sealant, a proper resealing may be enough.
A smaller repair may make sense when:
- The metal underneath is still solid
- There is one isolated gap or leak
- Brick or stucco around the flashing is dry and firm
- There is no visible water damage inside the attic
However, sealant is not a permanent solution for flashing that is rusted through, pulled loose, or incorrectly installed. If the same area keeps leaking after repeated resealing, the flashing itself may need to be repaired or replaced.
Thinking about brick or stucco counter flashing?
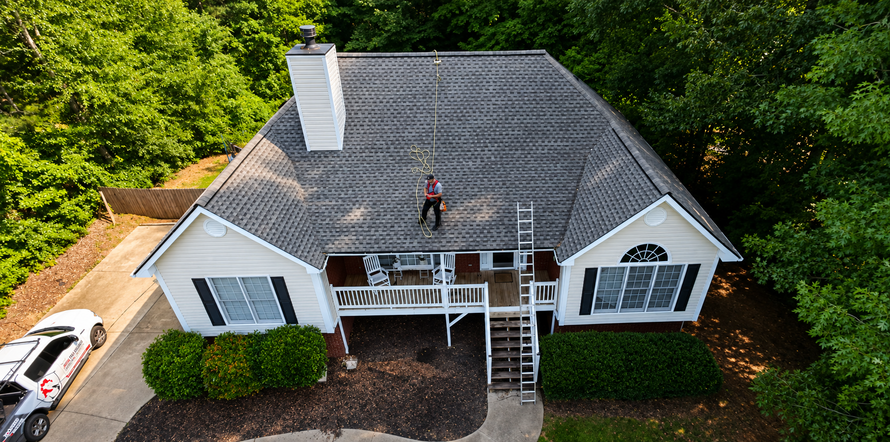
Let's talk. We'll look at the flashing, the wall, and the roof around it, then tell you whether it needs resealing or replacing.
Book My Free Inspection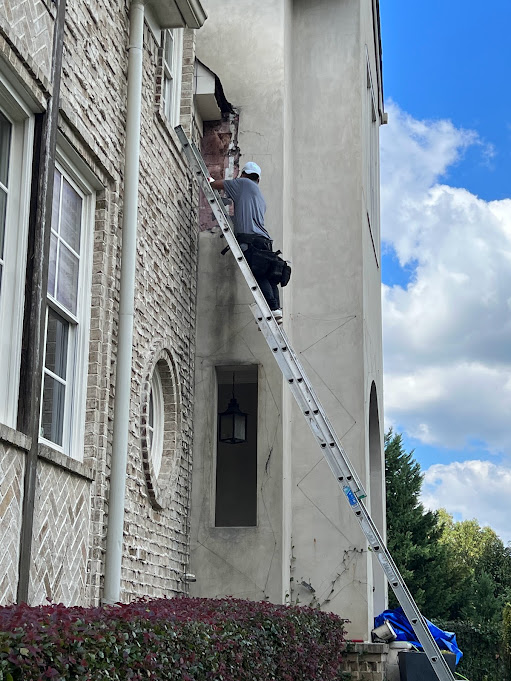
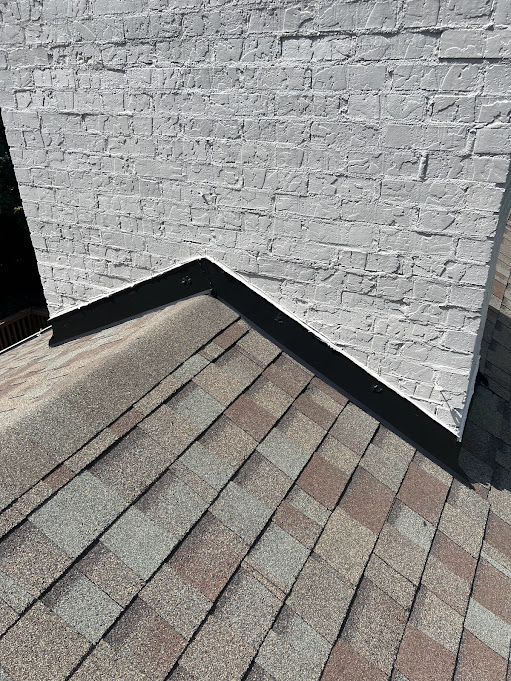
What happens during a counter flashing repair
We start by examining the flashing, wall surface, and surrounding roof area to determine where the water is getting through.
- Inspect the counter flashing and step flashing for damage
- Check the brick or stucco for cracks, gaps, and deterioration
- Remove failed sealant and damaged metal
- Clean and prepare the existing mortar joint or stucco channel
- Cut a new reglet or kerf when necessary
- Install new counter flashing and properly overlap it with the step flashing
- Seal and finish the repair with appropriate mortar or stucco materials
- Photograph the area before and after the repair
The overlap between counter flashing and step flashing is especially important. If those components aren't properly integrated, water can find its way behind the flashing during heavy rain.
Not every repair requires replacing all the metal. If the existing flashing is still sound, we'll tell you when a smaller repair is enough.
Verifying the fix: why a water test matters
A flashing repair shouldn't be considered complete just because the new metal looks good.
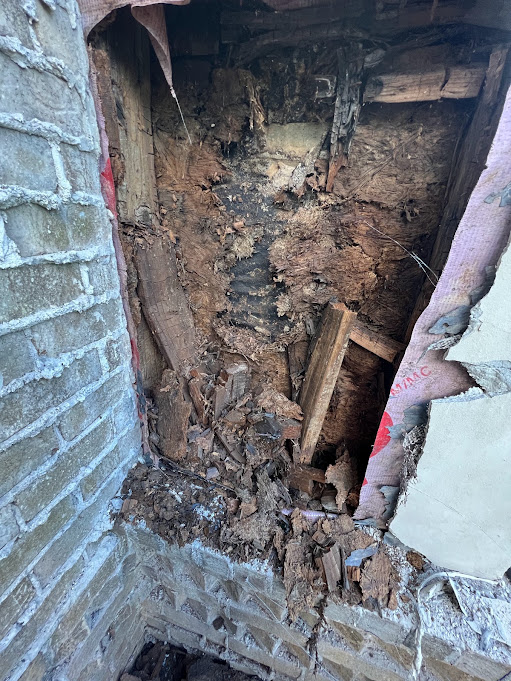
Brick and stucco can hide water paths behind the wall surface. That's why a controlled water test can help confirm that the repaired area is actually keeping water out.
After the repair, we can test the affected wall and flashing area while checking the interior or attic for signs of moisture.
If water is still getting through, we address the problem before considering the repair complete. We also document the repair with photos so you can see the condition before and after the work.
The goal isn't just to make the flashing look better. It's to make sure it performs.
Counter flashing, answered
How do I know if my counter flashing is leaking or if it's just an old stain?
Is the repair different for a brick home versus a stucco home?
Can a simple sealant fix my flashing?
What happens during a counter flashing repair?
How long does a counter flashing repair take?
Can failed counter flashing damage my roof?
Stop the leak at the source
Get a free inspection of the flashing, the wall, and the roof around it, with a written scope before any work starts.
Get My Free Inspection
Metro Atlanta's trusted roofing team. Roof replacement, repair, storm damage restoration and inspections across Cobb County, North Fulton, Atlanta and DeKalb, done right the first time.
© 2026 Shelter Guard Roofing. All Rights Reserved.